In this guide, we will delve into the intricacies of wire crimping, covering key terms such as crimp terminal, stranded wire, American Wire Gauge (AWG), crimping tool, and more.
Understanding The Basics
Crimping is the technique used to create a secure and electrically conductive connection between wires and terminals. It includes deforming a metal sleeve around a wire to establish a robust electrical and mechanical connection. Before learning about the wire crimping process, it is essential to know the basics of crimping terminologies. Let us explore more about it.
1. Crimp Terminals and Wire Strands
The crimp terminal, also known as a connector or lug, is a crucial component in the wire crimping process. These terminals are designed to be attached to the ends of wires, providing a secure and stable connection. When working with stranded wire (consisting of multiple wire strands), it’s essential to consider all the strands and choose the appropriate terminal based on the wire size.
2. Understanding Wire Gauge
American Wire Gauge (AWG) is the standard measurement for wire sizes. Knowing the wire gauge is crucial for selecting the right crimp terminal and tool. Check the manufacturer’s specifications or refer to the wire gauge markings to ensure a precise match.
3. Selecting the Right Crimping Tool
The crimping tool is your key to success in the process of wire crimping. For optimal results, pick a tool that matches the wire size and the crimp terminal that you are using. A ratchet design in the tool for crimping ensures a uniform and stable crimp, contributing to the entire quality of the connection.
The Wire Crimping Process
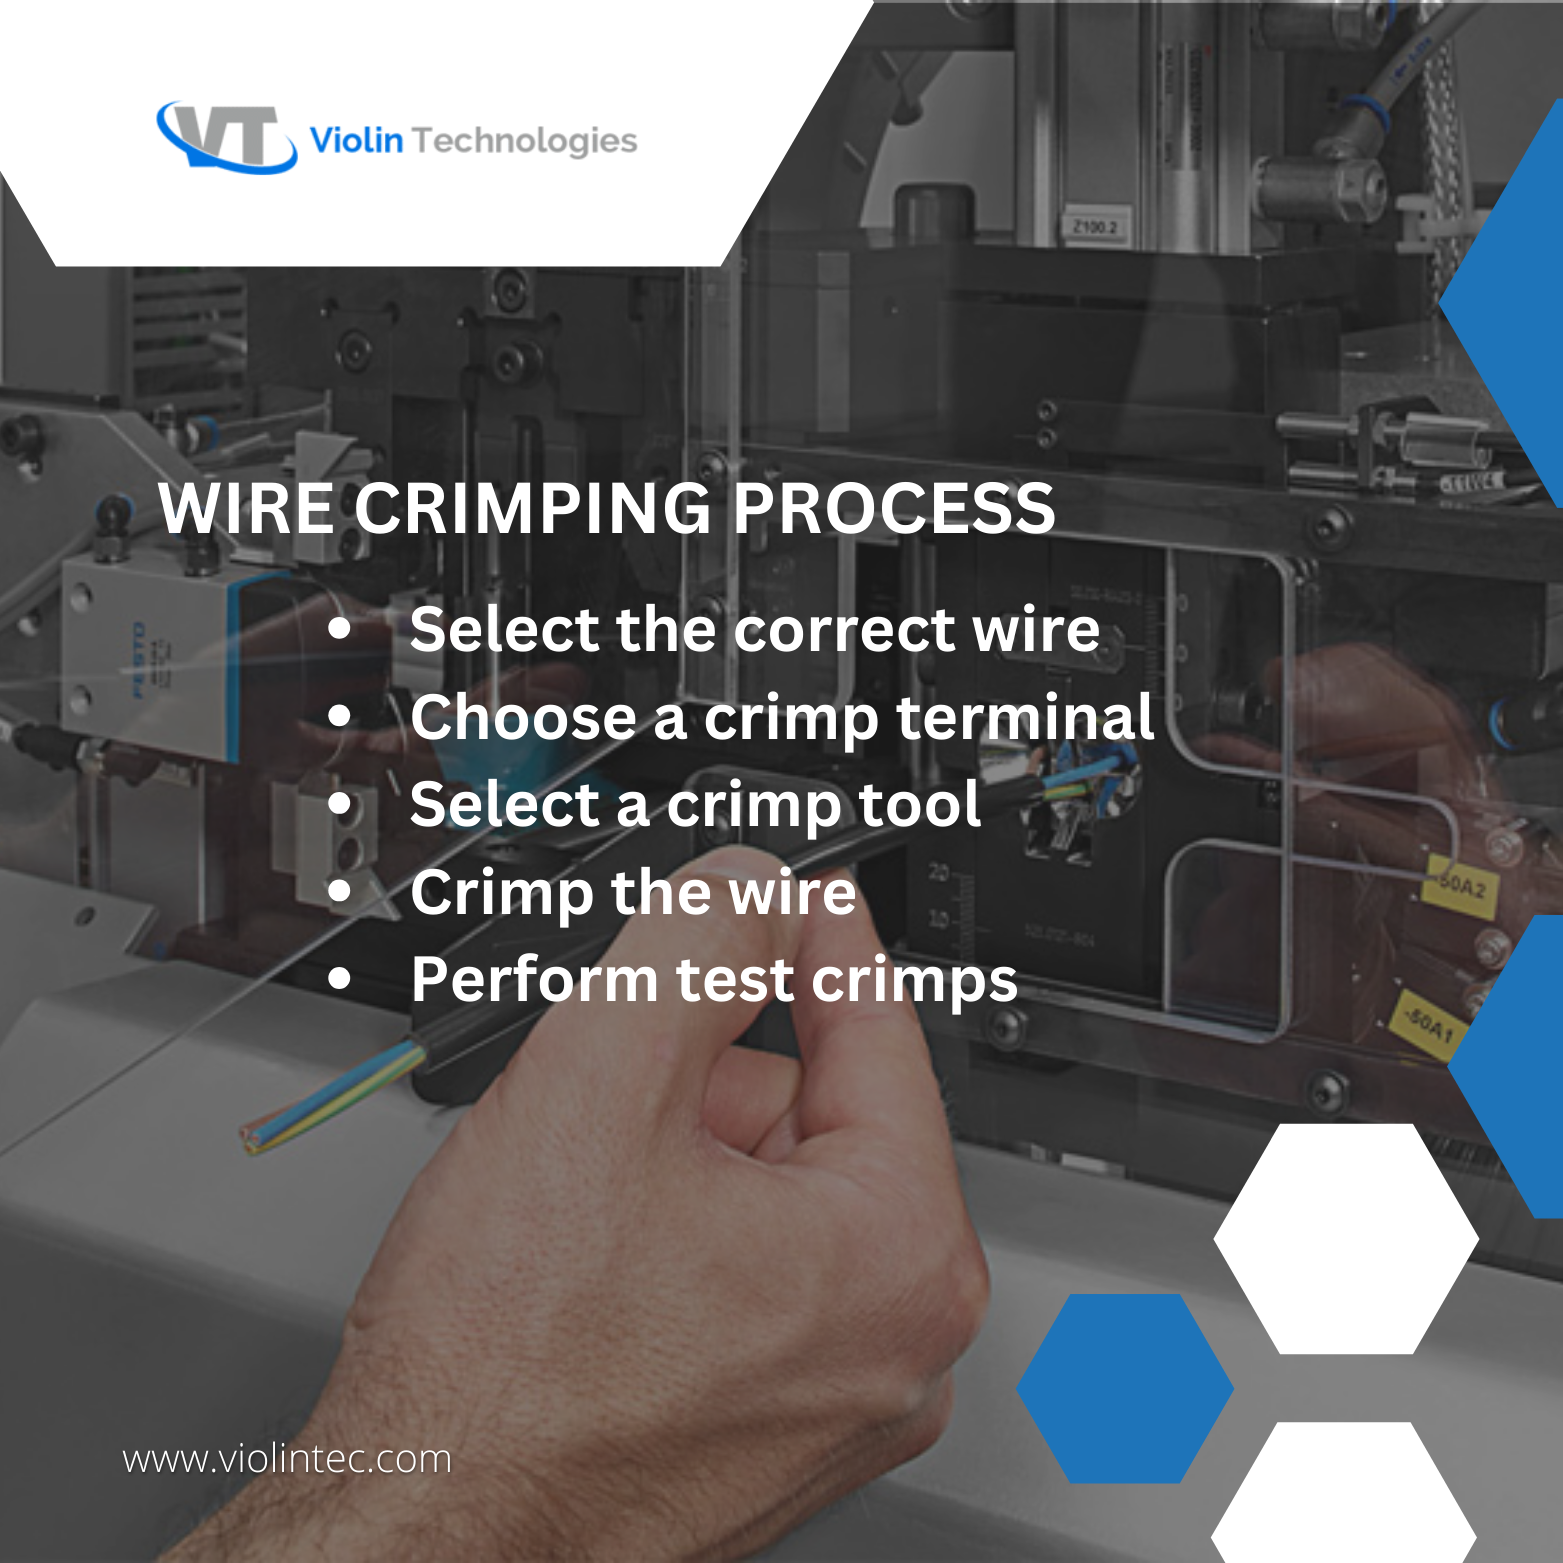
1. Select the Correct Wire
Choose wires and expose the wire strands. If dealing with stranded wire, gently separate and arrange the strands evenly. For solid wire, strip the insulation carefully, leaving the wire intact.
2. Choose the Right Crimp Terminals
Based on the wire size and type, select the appropriate crimp terminal. Manufacturers often provide detailed information on their websites, including compatibility charts and guidelines for optimal crimp terminations.
3. Select a Crimp Tool
The proper crimping tool is required to guarantee that the crimp is made to specifications. There is no such thing as a universal crimping tool; they differ according to crimping design. As a result, the tool chosen for the crimp terminal must be built for crimping that specific terminal (it must also include a ratchet feature). Consult the crimp terminal manufacturer’s website for compatible tooling designs to identify proper crimping tools.
4. Crimp the Wire
The wire crimping procedure includes the following steps:
- Strip the end of the wire after measuring its length. When you enter the wire into the crimp, it should be at least 1 or 2 mm long.
- Trim the insulation from the end of the wire strands to expose them.
- Insert the wire into the crimp. Take special care to ensure that all strands are properly placed.
- Insert the wire and crimp into the crimping tool, making sure both are properly positioned within.
- The tool should be cycled until it is released.
- Take out the crimp. Ensure that the wire is in the proper location and that the wire insulation is secure.
- Give the wire and crimp a little twist to ensure they are secure.
5. Perform Test Crimps
Before proceeding with all your connections, perform test crimps on a sample wire, allowing you to assess the quality of the crimp and make any necessary adjustments to the tool for crimping or the process.
Custom Cable Manufacturers in India are adept at the wire crimping process and offer step-by-step quality assured wire crimping process.

Ways To Enhance The Connection
1. Heatshrink System
To further secure and insulate the connection, consider using a heat shrink system. This additional step helps protect the crimped connection from environmental factors and enhances the overall durability of the electrical connectors.
2. Inspect the Crimp
After completing the crimping process, inspect the connection thoroughly. Ensure there is no exposed wire and the crimp’s terminal end is properly formed. A slight tug on the wire can confirm the reliability of the connection.
3. Application Of Dielectric Grease
In environments where corrosion and moisture are a concern, the application of dielectric grease to connectors can prevent oxidation and better the longevity of the connection.
4. Using Strain Relief
Employ strain relief devices or techniques to minimize stress on the crimped connection, which is particularly important in applications where the wire may experience movement or vibrations.
Cable assemblies electrical contract manufacturing companies in Chennai provide exclusive services such as crimp cross-section analysis, test and inspection methodology development, Tool Design for over-molding or insert molding of connectors, grommets, strain reliefs, and many more.
Advanced Techniques And Considerations
1. Dealing with different wire size
The wire crimping process might differ based on the wire size and individual strands. Larger wires require robust crimping terminals and tools. At the same time, small-length wires demand precision and attention to detail.
2. Manual processes vs. automated systems
While manual crimping processes are common and effective, automated systems are increasingly being used for high-volume production. Understanding both methods allows you to choose a suitable approach based on your specific needs.
3. Considering wire types
Different wire types, such as copper or aluminum, may require adjustments in the crimping process. Consult the wire type specifications and adapt your approach accordingly.
4. Quality Assurance
Follow manufacturing specifications and guidelines for both the crimping tools and crimp terminals. These guidelines ensure the reliability and performance of the crimped connection.
5. Performing pull and tug tests
Gently tug on the wires after crimping to make sure that the terminal tightly holds it. If the wire pulls out easily, the crimp might not be sufficient.
Conclusion
Mastering the wire crimping process is an essential skill for anyone working with electrical connections. By understanding the nuances of a crimping tool, crimp terminals, wire sizes, and the overall crimping process, you can ensure secure and reliable connections in various applications. Take the time to familiarize yourself with the specific requirements of your project, and don’t hesitate to examine test crimps to guarantee the highest quality results. Whether you are working on wire harnesses, cable assemblies, or individual wires, following this step-by-step guide will lead you to successful and durable electrical connections.

Amulya Sukrutha
About the Author
Amulya Sukrutha, passionate computer science engineer specialized in Data science field. I also describe myself as a enthusiastic strength and endurance trainee. I have played professional Tennis during my early years and found my path in Software development and machine learning later. I’m also passionate about creating content, and learning about new technologies.

